

Name your workspace, pick its time zone, industry and domains
On this page
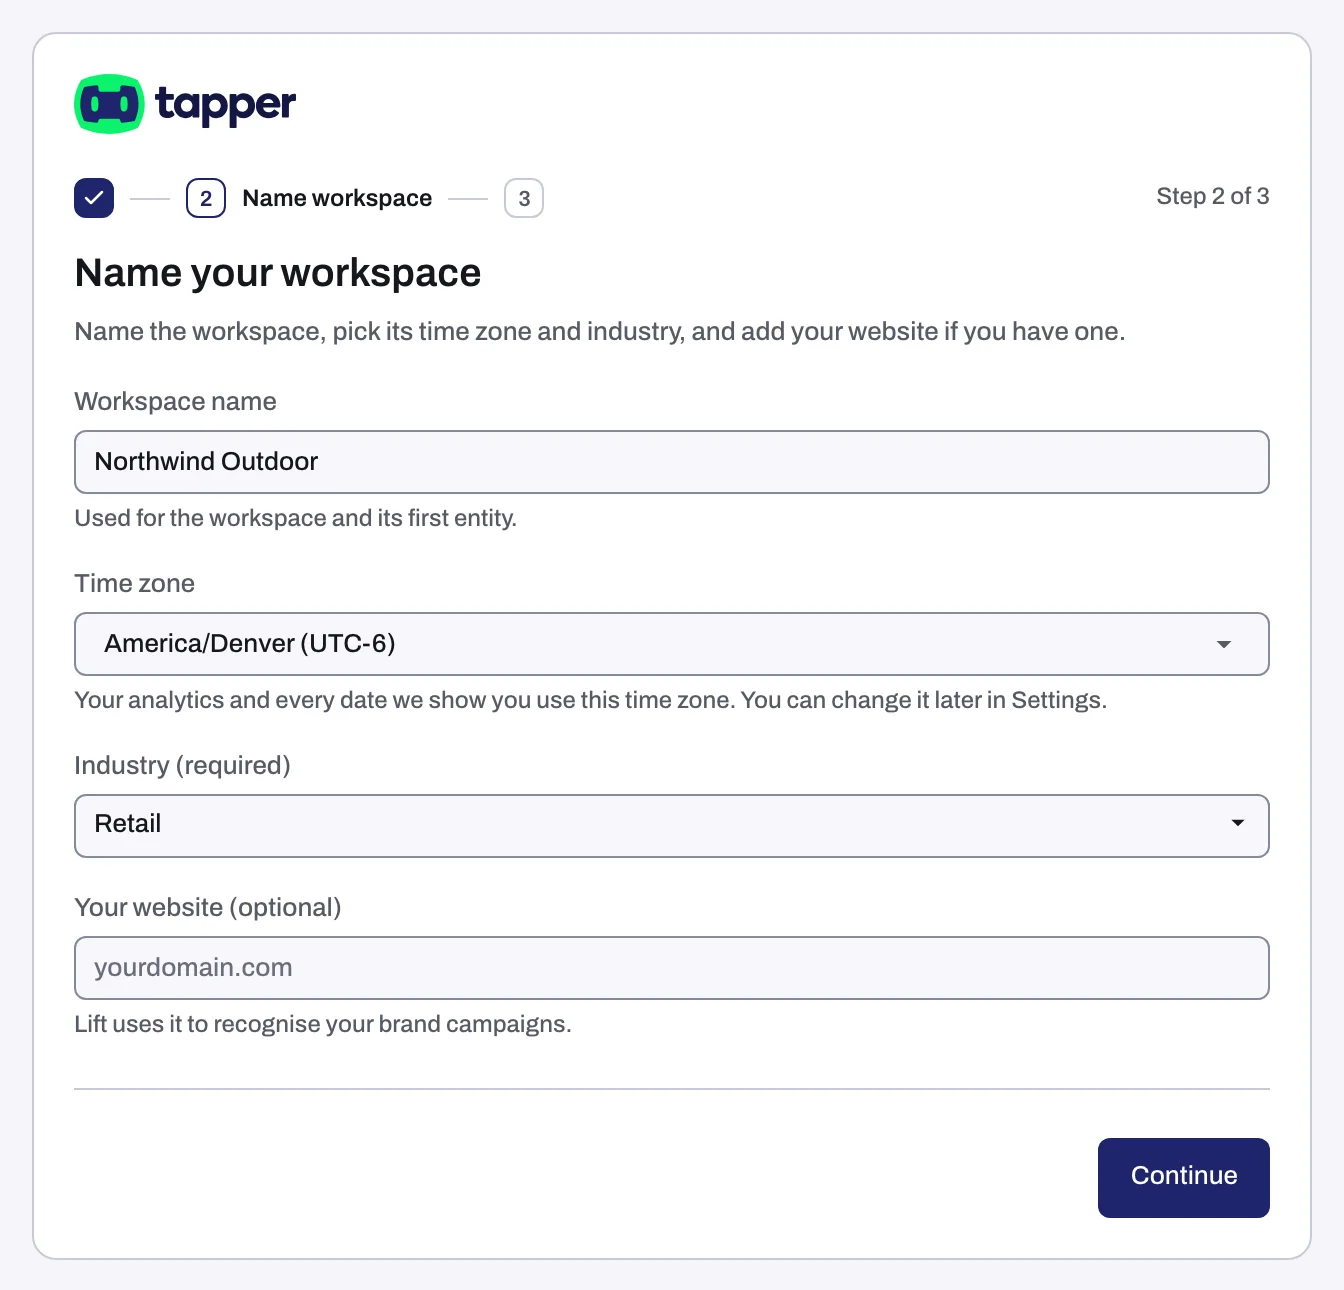
Name your workspace is step 2 of the wizard (of 5 with Block, of 3 on Lift only), right after Choose your products. It renames the workspace sign-up created as Default, sets the time zone and creates your first protected entity. With Block, the industry decides your starting threshold rules, so choose it with care.
The fields
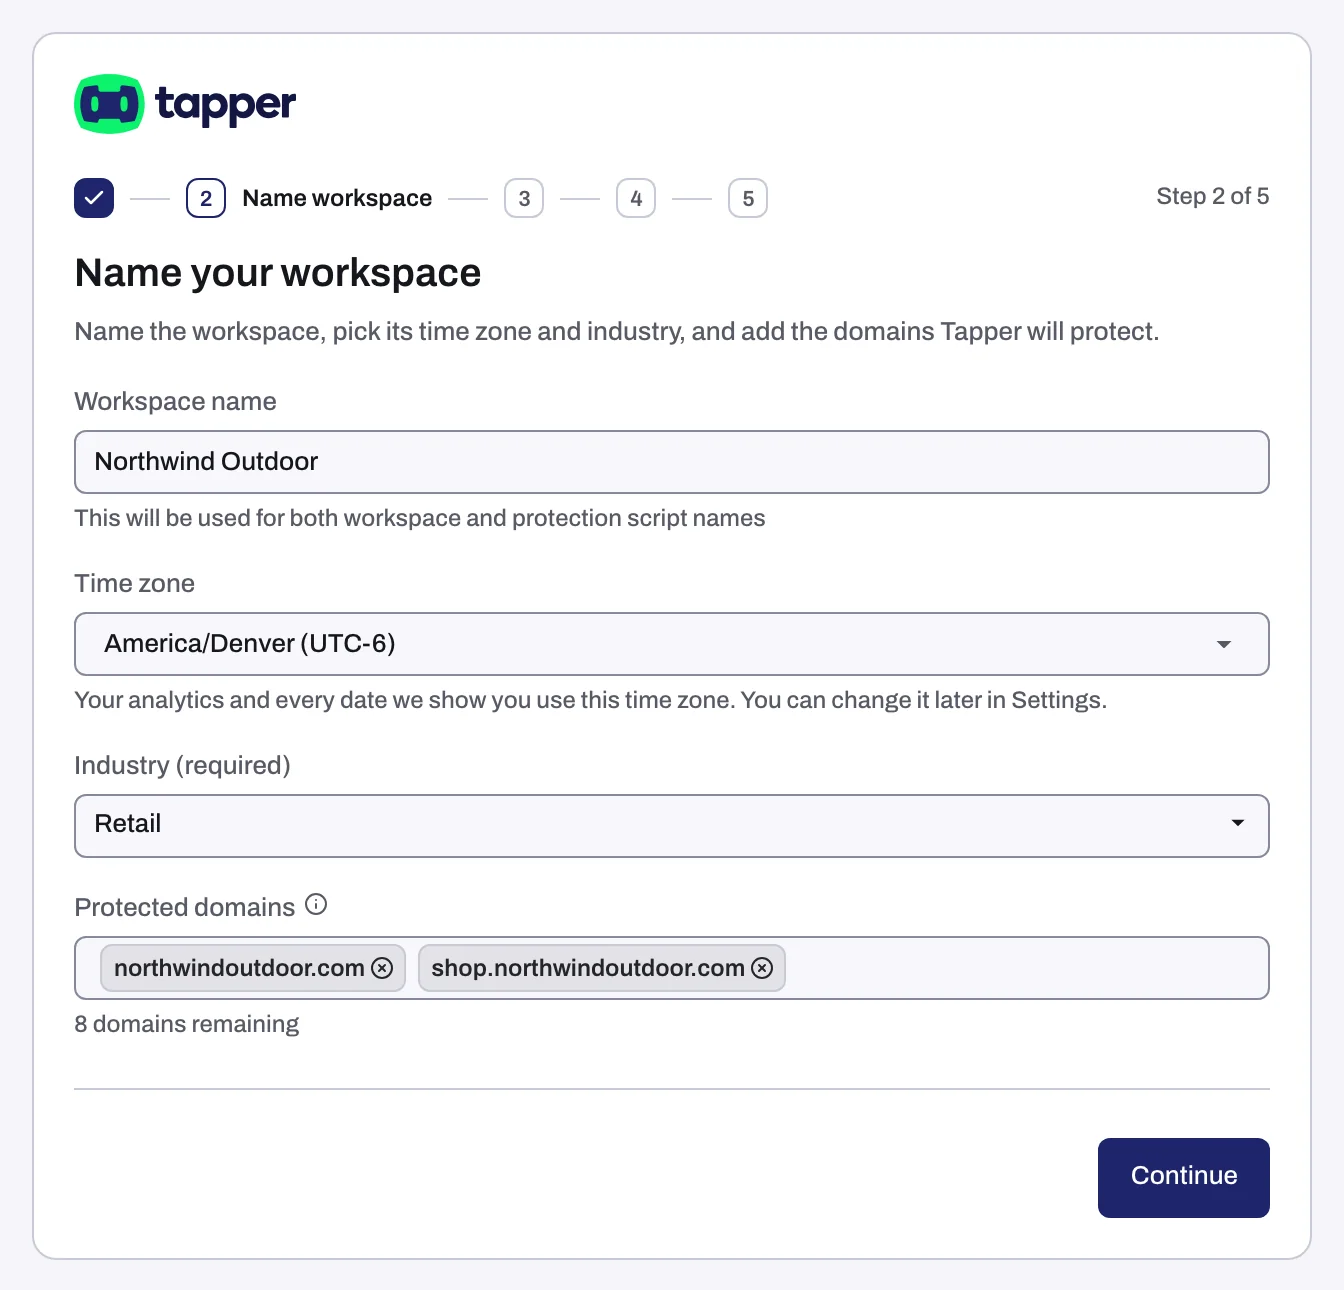
| Field | What to enter | Notes |
|---|---|---|
| Workspace name | Your company or brand name (placeholder "e.g. Acme Co.") | The same name goes on your first entity. |
| Time zone | Search the list ("Search time zones"); options read like "America/New_York (UTC-4)" | Your browser's zone is preselected. Your analytics and every date Tapper shows use it, and you can change it later in Settings. |
| Industry (required) | One of 14 industries ("Select industry") | Stored on the entity. With Block it seeds the preset rules listed below. |
| Protected domains (with Block) | The domains Tapper should protect, one at a time: type a domain and press Enter, and it becomes a chip in the field | Your plan sets how many domains you can add. |
| Your website (optional) (Lift only) | Your main domain (placeholder "yourdomain.com") | Lift uses it to recognise your brand campaigns. |
The Protected domains tooltip: "Enter the domain you'd like Tapper to protect. You can use formats like www.yourdomain.com or simply yourdomain.com."
Steps
- Type a Workspace name.
- Pick the Time zone your team reports in.
- Choose the closest Industry (required).
- With Block, add each domain under Protected domains. On Lift only, enter Your website (optional) or leave it empty.
- Press Continue to move on to Connect an ad account.
What Continue creates
- Saves the workspace name and time zone.
- Creates your first protected entity with the industry you chose. An entity (also called a protection script) holds one brand or website: its domains, rule sets, monitoring script, and connected ad accounts and mobile apps. See Protected entities.
- Adds each protected domain to it.
- With Block, creates the industry's preset invalid click threshold rules on the default rule set, plus one Aborted ad clicks row (5 aborted clicks within 1 day). That row does not decide the Aborted ad click flag; see Aborted ad clicks.
- On Lift only, creates no preset rules; the default rule stays in monitor-only.
The preset rules each industry creates
Each preset reads "Block after N clicks within M" on the Click limits tab of the default rule set (Setup > Rule sets). An IP that clicks more often than a row allows is flagged.
| Industry | Preset rules (clicks within window) |
|---|---|
| Automotive | 2 in 1 hour; 3 in 14 days; 4 in 30 days |
| Beauty | 2 in 1 hour; 3 in 7 days; 4 in 30 days |
| E-Commerce | 2 in 10 minutes; 3 in 2 days; 4 in 7 days |
| Entertainment | 2 in 1 day; 3 in 7 days; 4 in 30 days |
| Finance & Banking | 2 in 1 day; 3 in 7 days; 3 in 30 days |
| Healthcare | 3 in 1 day; 4 in 7 days; 5 in 14 days |
| Insurance | 2 in 1 day; 3 in 14 days; 5 in 30 days |
| Marketing | 2 in 1 hour; 3 in 7 days; 4 in 30 days |
| Media | 2 in 1 day; 3 in 14 days; 4 in 30 days |
| Real estate | 2 in 1 day; 3 in 7 days; 5 in 30 days |
| Retail | 3 in 10 minutes; 7 in 7 days; 10 in 30 days |
| Sports/Fitness | 2 in 1 day; 3 in 14 days; 4 in 30 days |
| Telecommunications | 2 in 1 hour; 3 in 1 day; 4 in 30 days |
| Travel | 2 in 10 minutes; 3 in 1 day; 4 in 7 days |
These are a starting point. Edit any row on Click limits and press Save. See Suggested thresholds by industry.
Change it later
- Workspace name: Settings > General > Workspace tab, edit Name, then Save in the bar at the bottom.
- Time zone: Settings > General, Time zone card, Workspace time zone. Daily charts from your ad platforms stay in the ad account's time zone. See Workspace time zone.
- Domains: Setup > Website > Domains, under Protected domains, with the same plan limit.
- Industry: there is no industry field in Settings. On a rule set's Click limits tab, press Suggest limits, pick the industry in Choose your industry and press Use suggested rules. The presets are added to your existing limits; remove unwanted rows with their trash icon and click Save.
Related
Was this helpful?
Still need help?
Chat with our team and mention this article.