

Start here: set up Tapper in five steps
On this page
The wizard has five steps: Choose products, Name workspace, Connect ad account, Website monitoring and Detection rules. With Lift only it has three and ends when you connect an ad account; see Get started with Lift.
Before you start
- Only a workspace Owner or Admin can connect an ad account.
- Have the sign-in that reaches your ad accounts ready (Google, Facebook, TikTok for Business or Microsoft).
- With Block, know who can add a tag to your website, in the page or through Google Tag Manager. Step 4 needs them.
Step 1: choose your products
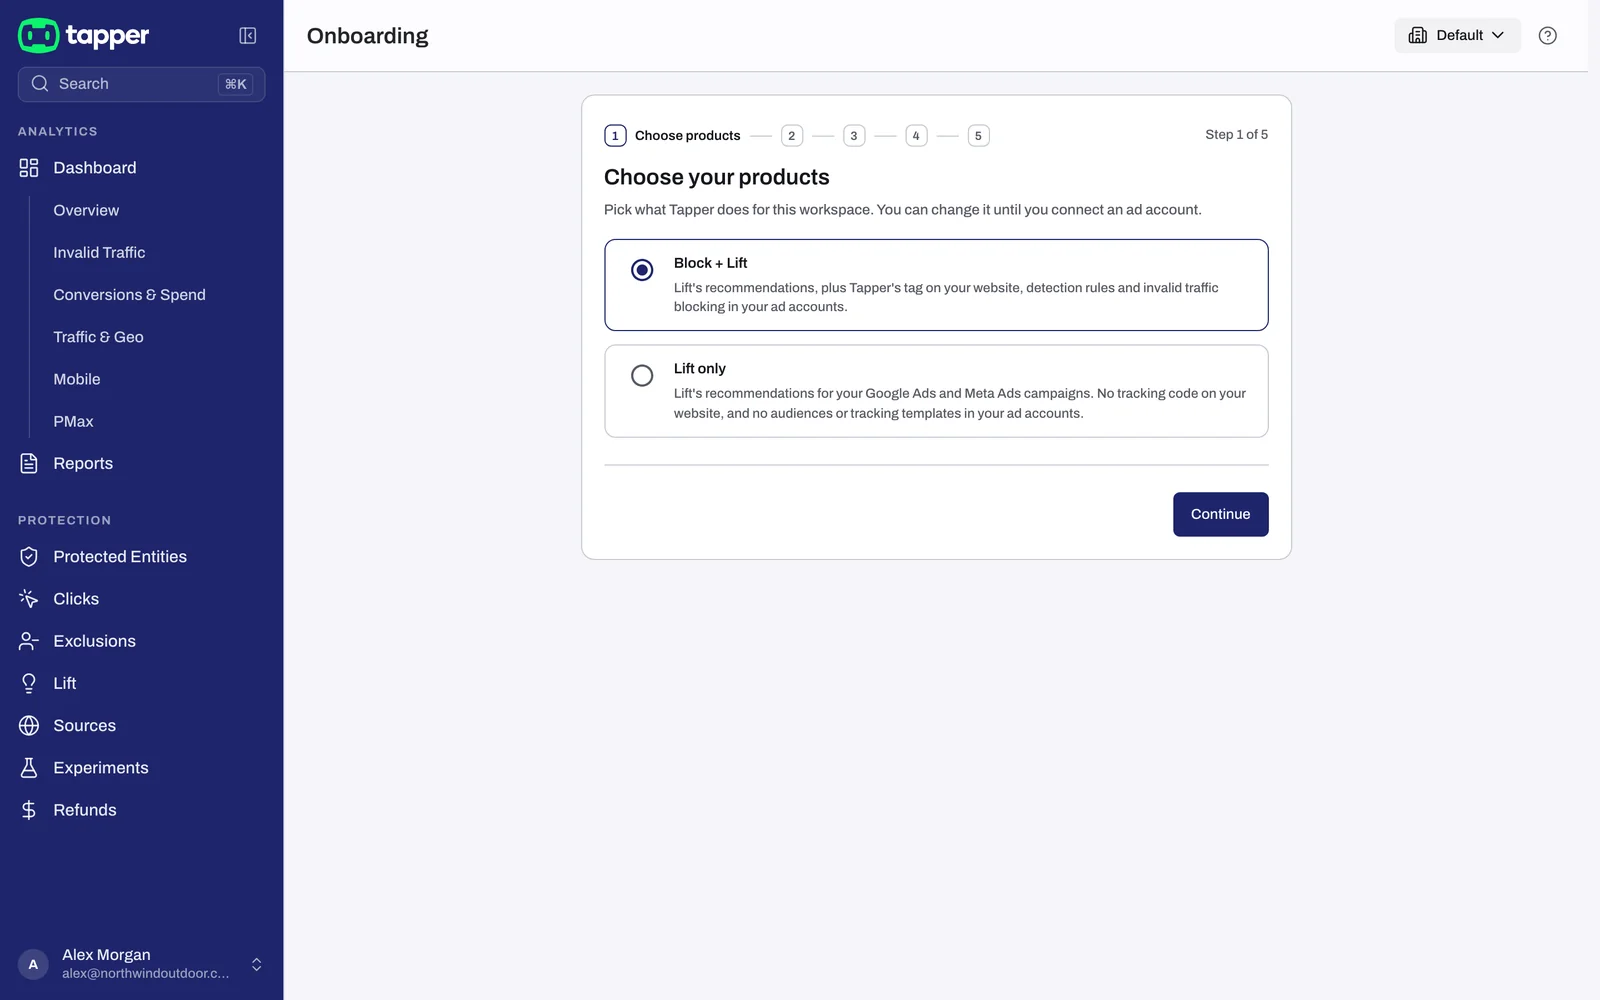
Pick Vantage + Lift + Block (preselected) or Lift only, then press Continue. You can change the choice until you connect an ad account; after that, contact Tapper. What each choice includes: Choose your products: Lift only or Vantage + Lift + Block.
Step 2: name your workspace
- Enter a Workspace name. It is also the name of your first entity.
- Pick a Time zone. Every date Tapper shows uses it; you can change it later in Settings.
- Pick an Industry (required).
- With Block, add your Protected domains (
yourdomain.comorwww.yourdomain.com), where the monitoring script runs. With Lift only, the field is Your website (optional). - Press Continue.
Tapper saves the name and time zone, creates the entity (or reuses one with that name) and adds each domain. With Block it also creates your industry's preset invalid click threshold rules, plus one Aborted ad clicks row (5 aborted clicks within 1 day) that does not decide the Aborted ad click flag. Details: Name your workspace, pick its time zone, industry and domains.
Step 3: connect an ad account
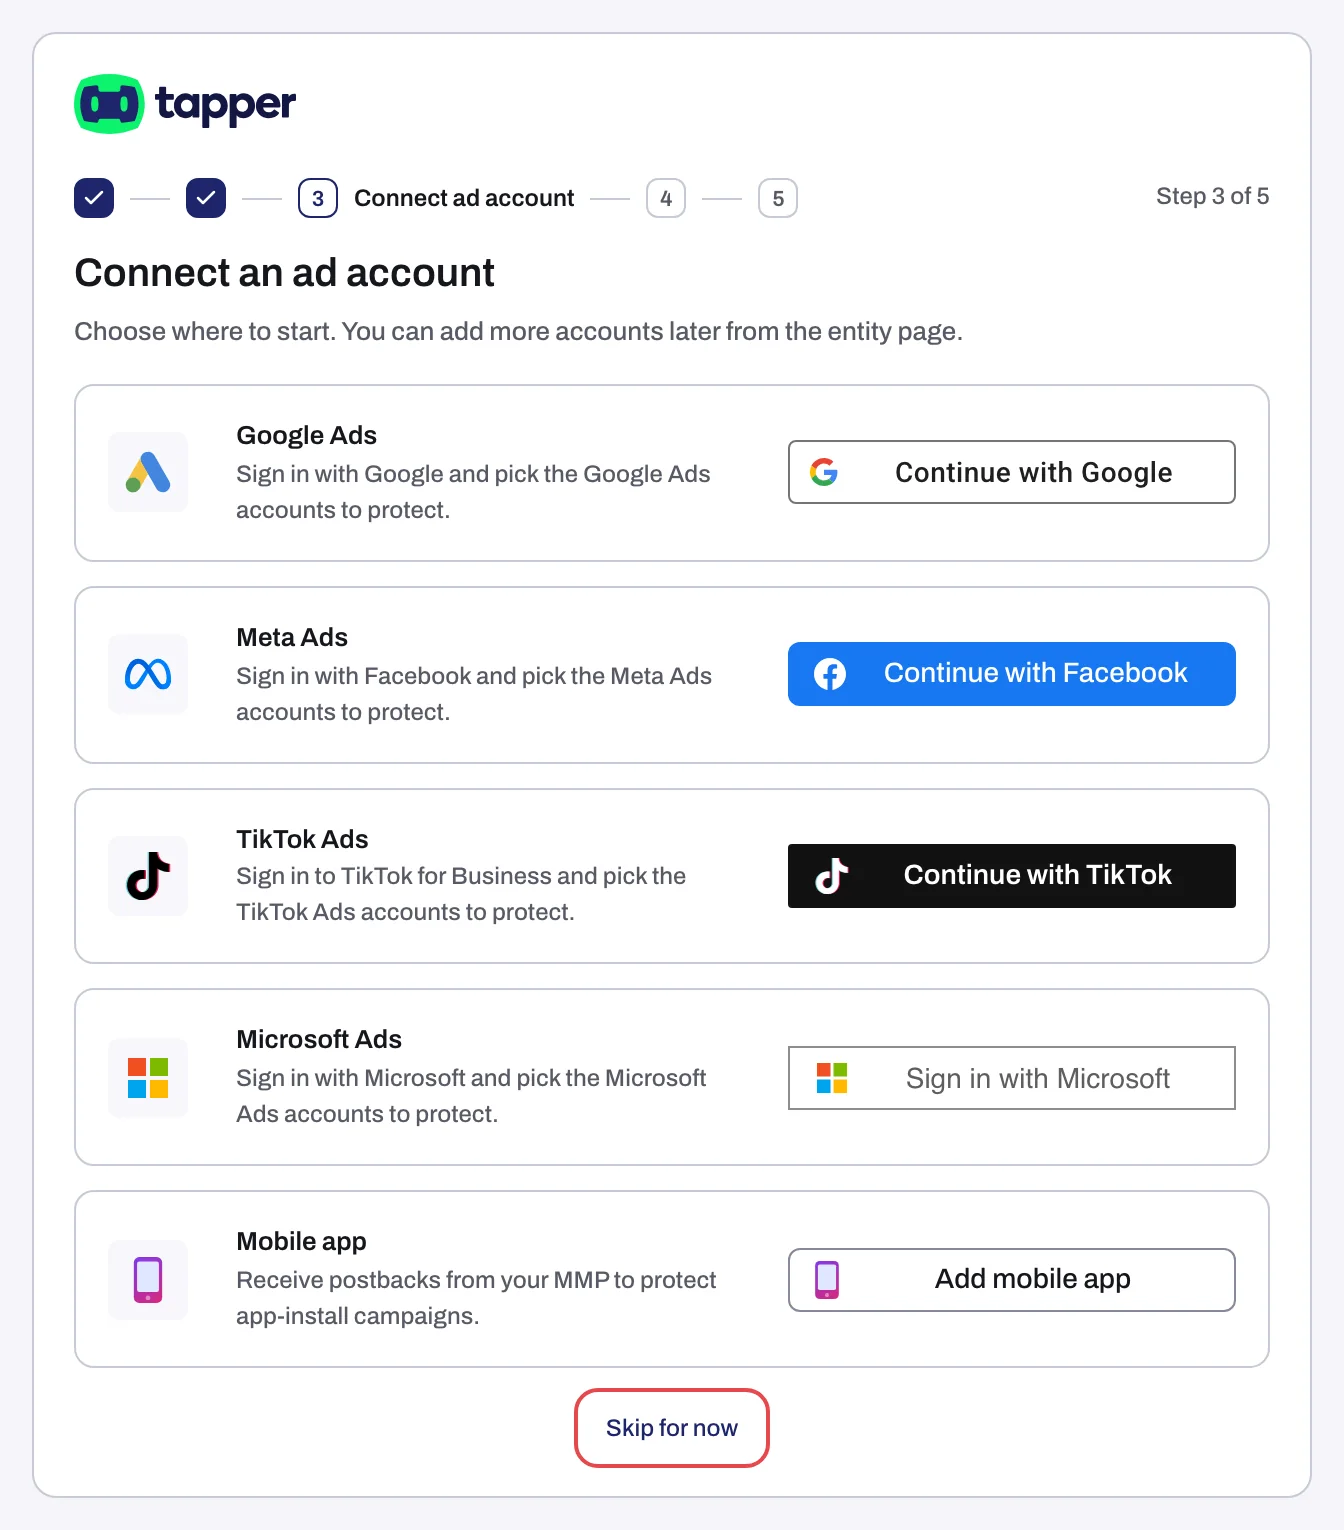
This step has no forward button. Choose a platform, or press Skip for now to leave without writing anything and connect later from Setup > Ad accounts.
- Press the platform's button: Continue with Google (Google Ads), Continue with Facebook (Meta Ads), Continue with TikTok (TikTok Ads), Sign in with Microsoft (Microsoft Ads) or Add mobile app (with Block only). LinkedIn Ads, Snapchat Ads and Apple Ads have their own rows.
- Sign in in the popup. If the popup is blocked, sign-in runs in the same tab.
- On Choose the accounts to protect (Lift only: Choose the accounts to connect), tick the accounts and press Continue (Lift only: Finish).
What Tapper writes with Block:
- Google Ads: replaces the account-level tracking template, creates conversion actions, user lists and audiences, and syncs your campaigns. There is nothing to apply or approve in Google Ads. See Connect Google Ads and What Tapper creates in your Google Ads account.
- Meta Ads: creates the custom audience "Tapper - Invalid Traffic Audience". The ad account needs a Meta pixel and accepted Custom Audience terms, and each ad needs a URL parameter. See Connect Meta Ads and Add the ad_id parameter to your Meta ads.
- TikTok Ads: needs a TikTok Pixel on your website. Tapper records invalid traffic and sends it through the pixel; your ad groups stay as they are. See Connect TikTok Ads.
- Microsoft Ads: syncs your campaigns and spend. See Connect Microsoft Ads.
- LinkedIn Ads, Snapchat Ads, Apple Ads: see Connect LinkedIn Ads for Lift, Connect Snapchat Ads for Lift and Connect Apple Ads for Lift.
- Mobile app: receives installs and events from your tracking tool. See Connect a mobile app through your tracking tool.
Step 4: install website monitoring
With Block only.
- Copy the Monitoring script with Copy monitoring script, or press Google Tag Manager to install it as a tag. It goes right after the opening
<body>tag on every page of your protected domains. - If your site sends a Content-Security-Policy header, allow the sources listed on the page, or browsers block the script.
- Add the separate Conversion script to your thank-you page, or list your Conversion pages.
All of this stays on Setup > Website > Monitoring. Details: The monitoring script: what it does and where to find it, Install the monitoring script with Google Tag Manager and Install the conversion script.
Step 5: set your detection rules
With Block only. This is the entity's Web detection rules form for the default rule set; you can change it later in Setup > Rule sets.
- Review the preset Invalid click threshold rules and the Detection features switches. A switch saves when you click it, a number field shortly after you stop typing. Threshold rows save with Update threshold rules.
- Press Finish.
Details: Rule sets: every setting, tab by tab.
What happens next
- With Block, Tapper shows "Setup complete" and opens the entity's protection tab. The status chip reads Not connected until an ad account or mobile app is connected, Monitor-only while blocking is off, Protected once blocking is on, and Needs attention when a connected account is in error or the website has no domain.
- With Lift only, Lift's Recommendations opens. The first recommendations appear within a few hours.
- "Some accounts did not connect" means some accounts did not link. Retry them from Setup > Ad accounts.
- Campaign structure syncs at connect and then every 6 hours. See When your data shows up after connecting.
If you stop partway
Progress is saved on the workspace, so the wizard resumes where it stopped. Until it is done, Setup is not in the sidebar and the protected entities list shows Finish setting up this workspace.
Related
Was this helpful?
Still need help?
Chat with our team and mention this article.